One of the awesome things about worm composting is that you can do it indoors or outdoors. If you have the space, an outdoor worm composting bin is a great way to go. But, that includes some drawbacks too, which we will discuss in this article.
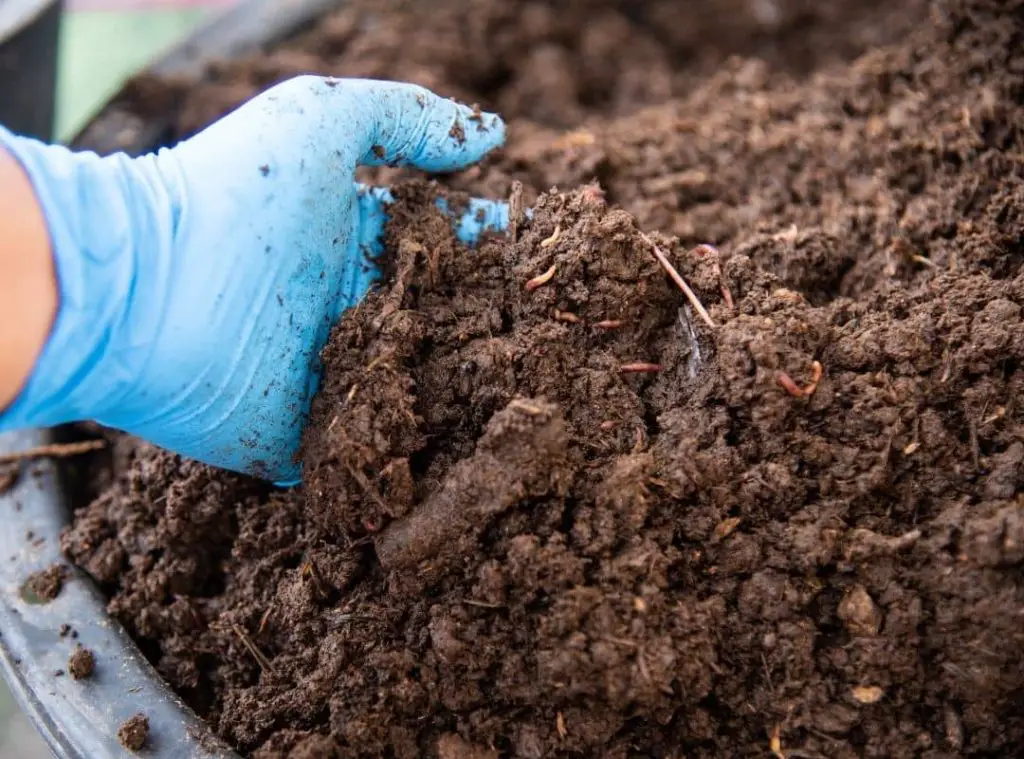
Worm composting or vermicomposting is a process whereby organic waste is converted into a nutrient-rich soil amendment known as compost. Worms consume food scraps, newspaper, and other organic matter and, in turn, excrete nutrient-dense castings that can be used to fertilize plants.
Can Worm Compost Be Outside?
Contents
- 1 Can Worm Compost Be Outside?
- 2 Can I Use Regular Earthworms For Composting?
- 3 Best Worms For Outdoor Composting
- 4 Benefits of Outdoor Worm Composting
- 5 Drawbacks of Outdoor Worm Composting
- 6 How Do You Make An Outdoor Worm Bin?
- 7 Outdoor Worm Composting In Winter
- 8 How Cold Is Too Cold For Worms?
- 9 Can You Keep Worm Composter Outside In Winter?
- 10 Do Worm Farms Attract Rodents?
- 11 How To Catch Worms For Composting
- 12 Tips For Successful Outdoor Worm Composting
- 13 Conclusion
As long as your worm bin is protected from the elements (i.e., too much sun, rain, or cold), then yes, you can keep your worms outside. The bin doesn’t need to be fancy, but it should have some sort of perforated bottom or sides to allow for drainage and aeration. You also want to make sure the bin has a tight-fitting lid to keep critters out.
Can I Use Regular Earthworms For Composting?
Although you can use regular earthworms for composting, they are not as efficient as red wigglers when it comes to breaking down organic materials. This is because red wigglers prefer to stay near the surface, where there is more oxygen and fresh food scraps. They are also better at tolerating fluctuations in temperature and moisture levels. Further, they can consume up to their body weight in food scraps daily. Plus, they reproduce quickly, so you’ll have a constant supply of composting worms.
On the other hand, regular earthworms prefer to stay deep underground, where it is cooler and more humid. They also don’t reproduce as quickly as red wigglers. If you keep regular earthworms in your compost bin, you will have to lift up the bin frequently to aerate the compost and add more food scraps deep under for your regular earthworms to consume. This can be time-consuming and hard to do on a regular basis. Therefore, experts do not recommend each and every earthworm for composting.
Best Worms For Outdoor Composting
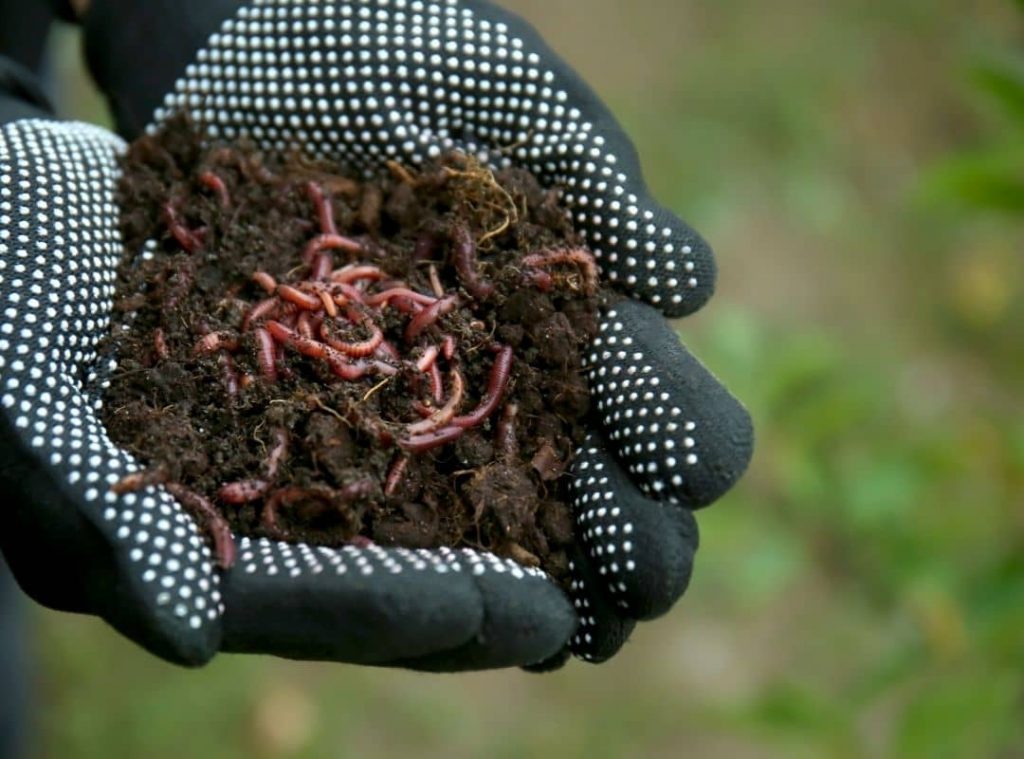
Even though all earthworms can decompose materials, we need specific types of worms for composting. The most common and best worms for composting are red wigglers (Eisenia fetida), also known as redworms or brandling worms. These small, red worms thrive in damp, dark environments and can consume up to their body weight in organic matter each day.
However, there are several other species of earthworms that can be used for composting, including:
- Eisenia hortensis (European nightcrawler)
- Lumbricus rubellus (red wriggle)
- Perionyx excavatus (tropical nightcrawler/ Indian or Malaysian Blue)
- Eudrilus eugeniae (African Nightcrawler)
If finding red wrigglers is difficult, you can find one of these other types of earthworms for your outdoor compost bin. These species also do a better job, if not best, in breaking down organic matter quickly.
Benefits of Outdoor Worm Composting
There are several benefits of outdoor worm composting, including:
- It’s more aesthetically pleasing than an indoor worm bin
- You don’t have to worry about smells
- There’s no need for special lighting
- Outdoor compost bins can accommodate more worms than indoor bins
- Worms are able to thrive in their natural environment
Drawbacks of Outdoor Worm Composting
Although there are several benefits to outdoor worm composting, there are also some drawbacks, including:
- Your bin can attract animals if it’s not properly sealed
- The composting process can take longer in colder climates
- The bin can become too hot in direct sunlight
- You have to be careful of rainwater flooding the bin
- Worms can escape if the bin is not covered
How Do You Make An Outdoor Worm Bin?
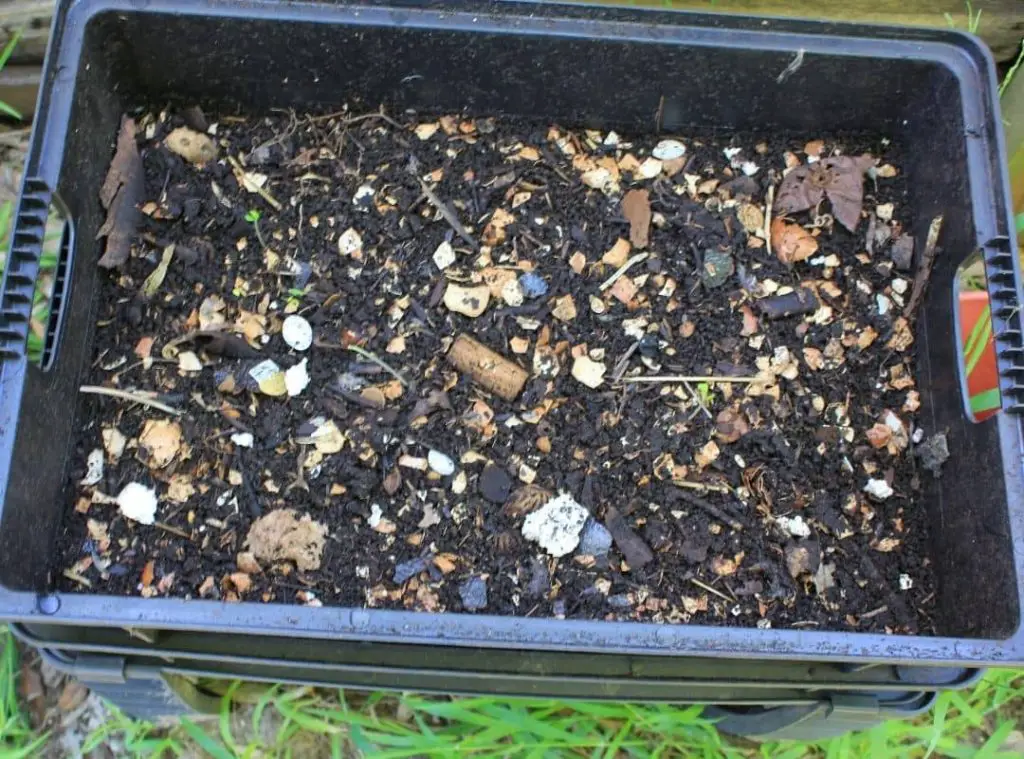
Making an outdoor worm bin is relatively simple and doesn’t require any special materials. Basically, you just need a container with some type of perforated bottom or sides to allow for drainage and aeration. The bin also needs a tight-fitting lid to keep critters out.
There are many types of containers you can use for your outdoor worm bin, including:
- Plastic storage bins
- Wooden boxes
- Trash cans
- Old tires and
- Basically, anything that can hold organic matter and has drainage holes.
Once you’ve chosen a container, drill or punch some holes in the bottom or sides for drainage and aeration, then add some bedding material to the bin, such as shredded newspaper, cardboard, or compostable materials. The bedding material must be damp but not wet. If it’s too dry, the worms will dehydrate. If it’s too wet, the worms will drown. Next, add your worms to the bin. You can purchase red wigglers from a local bait shop or online. Or, you can collect worms from your garden or local park.
Once you’ve added the worms, add some food scraps to the bin. Be sure to cover the food scraps with the bedding material to keep them from attracting animals. Then add another layer of bedding material on top of the food scraps. This will help keep the bin moist and dark, which are ideal conditions for worms. It will also keep the pests away.
To keep your bin from getting too hot or cold, place it in a shady spot. If it’s too hot, the worms will die. If it’s too cold, the worms will go into hibernation. You can also cover the bin with a tarp or blanket. Wait for about a week until your worms establish themselves in the bin before adding more food scraps. Once they’ve settled in, you can add a small number of food scraps each day. Be sure to keep an eye on the moisture level of your bin. If the compost bin starts to dry out, add some water. If it’s too wet, add more bedding material.
Outdoor Worm Composting In Winter
Although worms are active year-round, they slow down their metabolism in colder weather. This means that your outdoor worm bin will compost more slowly in winter. Worms will go dormant if the temperature falls below their ideal range. This means that they’ll stop eating, and their metabolism will slow down.
As a result, your bin will compost more slowly in winter. However, it will still compost, just at a slower rate.
How Cold Is Too Cold For Worms?
The lowest temperature that worms can tolerate is around freezing (32 degrees Fahrenheit). However, they prefer temperatures between 55 and 77 degrees Fahrenheit. Generally, worms will die when the temperature drops down to 40 degrees Fahrenheit. However, some species of worms can tolerate temperatures as low as 14 degrees Fahrenheit. So, it is essential to insulate your bin if you live in an area with cold winters. This will keep the worms alive and your bin from freezing.
Can You Keep Worm Composter Outside In Winter?
Yes. If you insulate your bin, you can keep it outside all year round.
To insulate your bin, you can use a variety of materials, including:
- Styrofoam
- Bubble wrap
- Rugs or blankets
- Tarp
There are several ways to insulate your bin. You can:
- Cover the entire bin with an insulating material.
- Place the bin on top of the insulating material.
- Place the bin inside another container, such as a garbage can, and then insulate around it.
Whichever medium you choose, be sure to use enough material to keep the bin warm.
You can also place your bin in a garage or shed to protect it from the cold. Ensure the area is well-ventilated so the worms don’t suffocate. If you live in an area with very cold winters, you may need to bring your bin inside for a few months. You can then put it back outside when the weather warms up.
Do Worm Farms Attract Rodents?
No. Worms don’t produce any odor, so they won’t attract rodents. However, if you have food scraps in your bin, it may attract pests. To prevent this, be sure to bury the food scraps under the bedding material. You can also cover the bin with a lid to keep pests out. Rodents are usually attracted to food items like meat, fish, and dairy as they produce a strong smell. If these items are properly buried or covered, rodents will not be able to smell them and, therefore, will not be attracted to your bin.
How To Catch Worms For Composting
You can catch your own if you don’t want to spend money on worms. While there are several ways to catch worms, only some of them are safe as some methods can actually kill the worm (or your garden).
We do not recommend catching worms with soapy water or shocking the ground as both of these methods can kill the worm or damage your garden. Instead, we recommend one of the following three methods:
Digging up worms
If you know a place where it gets a constant supply of organic matter and water (such as a stream), then you likely have a good population of earthworms. To catch them, simply dig around in the soil until you find some.
Be gentle while you dig so you don’t damage the worms. Once you find some, transfer them to your bin. You can also place them in a bucket of soil to keep them alive until you’re ready to transfer them.
Use a bait trap
You can make your own worm bait trap by drilling holes in a bucket and then burying it in the ground. Bait the trap with some food scraps, worms, or worm castings, and then wait for the worms to crawl in. To make it easy to remove the worms from the trap, place a piece of hardware cloth over the holes before you bury the trap. This will allow the worms to crawl in, but they won’t be able to get back out. Once the trap is full, simply remove it from the ground and transfer the worms to your bin.
Catch worms using cardboard
Cardboard is an excellent material for catching worms as they love to hide under it. To catch them, simply place a piece of cardboard on the ground, moisture it, and wait for the worms to crawl under it. You will have to wait overnight or longer to catch a good number of worms.
Then lift the cardboard and transfer the worms to your bin. You can also place them in a bucket of soil to keep them alive until you’re ready to transfer them. Once you have your worms, you can start composting! If you don’t have time to catch your own worms, you can also purchase them online or at a local bait shop. One pound of worms will cost you around $20- 40.
Tips For Successful Outdoor Worm Composting
Successful outdoor worm composting requires a few simple things:
Worms – You will need around 1,000 worms for every pound of food scraps you want to compost.
Bedding material – This can be made from shredded newspaper, leaves, straw, or grass. The bedding should be moist but not wet.
A bin – This can be anything from a plastic storage bin to a wooden box. Just make sure your bin has holes in the bottom for drainage and ventilation.
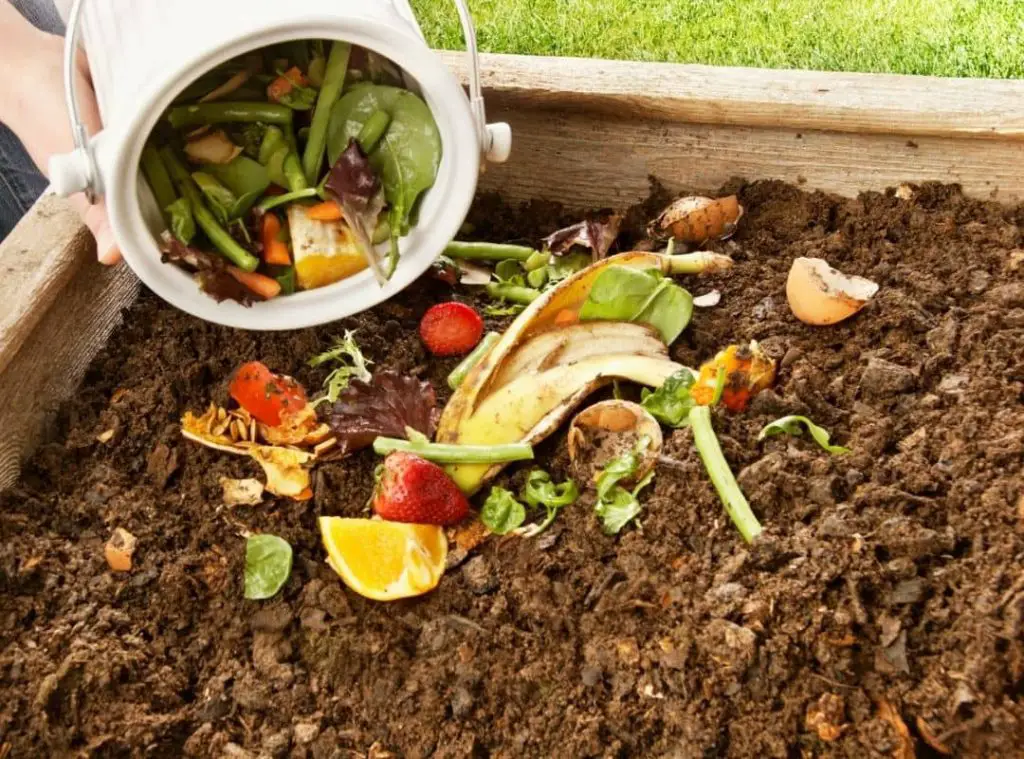
Food scraps – You can compost almost any organic material, including fruits and vegetables, coffee grounds, eggshells, and more. Once you have these materials, you are good to go. However, there are some proven tips for successful outdoor worm composting.
Always add bedding material above the food scrap layer.
Adding the bedding material above will keep the excess moisture away from the food scraps and prevent them from rotting. The bedding material will also provide a place for the worms to live and hide from the elements. Further, it will help keep the pests away from your compost bin. Alternatively, you can lift up some of your compost material and place it on top of the food scraps. This will also help keep the moisture away and allow your worms to aerate the compost.
Keep your bin in a shady spot.
Keeping your bin in a shady spot will help to keep it from getting too hot or cold. If the compost bin gets too hot, the worms will die. The worms will go into hibernation and cease eating if it becomes too cold.
Avoid adding meaty or oily foods.
While you can compost most organic materials, there are some that you should avoid adding to your bin. These include meat and oily foods, as they can attract pests and make your compost smell bad.
Cut up fruit and vegetable scraps into small pieces.
Cutting up your fruit and vegetable scraps into small pieces will help them break down faster. The smaller the pieces, the easier it is for the worms to eat them.
Avoid adding fruit scraps.
If you have more fruit scraps than vegetable scraps, you should at least limit them as fruit scraps can attract fruit flies. If you do add them to your bin, make sure to bury them beneath the bedding material.
Add new food scraps gradually.
You shouldn’t add food scraps until your worms finish eating the previous batch. This is because the worms need time to break down the food scraps and turn them into compost. If you add too many food scraps at once, the food scraps will start to rot and produce a bad smell.
Add water as needed.
Adding water to your bin will help to keep the bedding material moist. You shouldn’t add too much water, either, because it will drown the worms. If the bedding material of the bin is too dry, the worms will die.
Conclusion
Outdoor worm composting is a great way to get rid of your food scraps and create nutrient-rich compost for your garden. By following the tips above, you can be sure to have success with your outdoor worm compost bin.
Read Next : How To Avoid Maggots In Compost Bin? (It’s Simple)


